Installing the JDK
Before we start installing Android Studio, we need to install the JDK (Java Development Kit).
Run these commands in a terminal to install the JDK:
brew tap AdoptOpenJDK/openjdk
brew cask install adoptopenjdk8
After installation, check the version by running this command:
java -version> openjdk version "13.0.2" 2020-01-14
OpenJDK Runtime Environment (build 13.0.2+8)
OpenJDK 64-Bit Server VM (build 13.0.2+8, mixed mode, sharing)Along with the JDK, the Java compiler was also installed, let’s check its version with this command:
javac -version> javac 13.0.2Installation
Download Android Studio from the official site https://developer.android.com/studio
After downloading the file, run it and wait for the installation to complete.
First start
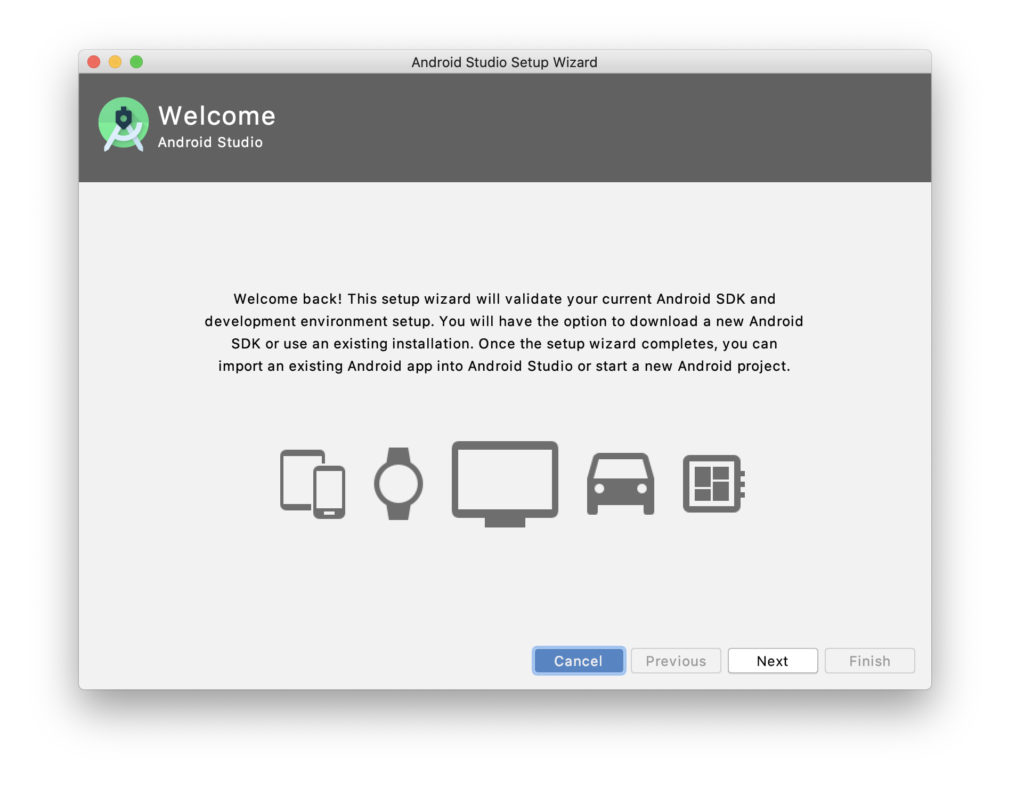
After launching Android Studio, you will see a welcome screen.
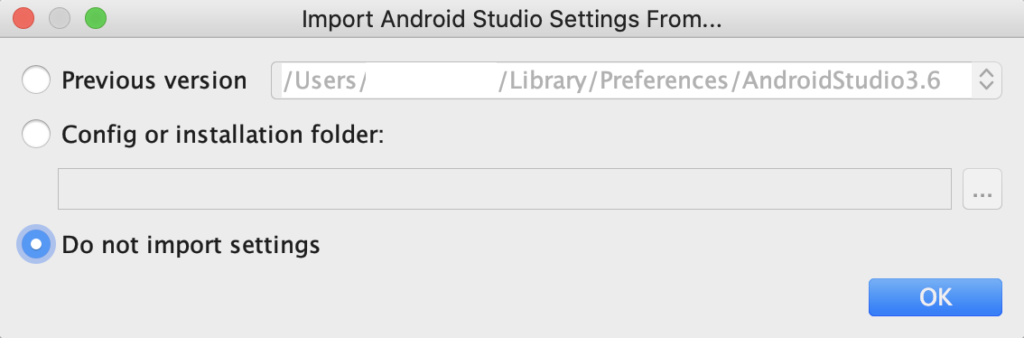
If an older version of Android Studio was previously installed, you will see a window with the ability to import settings first, and only after that a welcome window.
I didn’t import to show the whole configuration process.
At this step, I chose the standard installation type.

The next step is choosing a theme.
I prefer the dark.

After that will be shown a window with the packages selected, by default.
Now press the Finish button.

Then will start packages downloading, it may take some time.

Great, the installation is complete, now we need to configure the SDK.
SDK setup
Select SDK Manager from the dropdown list.

A window with SDK settings will open.
Make sure the path to the Android SDK is set.
Also, in the bottom list of packages, check these fields:
- Android 10.0 (Q)
- Android 9.0 (Pie)

Android Studio Environment Variable Configuration
The installation and configuration of Android Studio are completed. Now we need to set environment variables. Open the ~/.bash_profile file or the ~/.zshrc file using the nano ~/.zshrc command and add the code below to them:
# export ANDROID_HOME=$HOME/Library/Android/sdk

export ANDROID_HOME=Android SDK directory location/Android/sdk
export PATH=$PATH:$ANDROID_HOME/emulator
export PATH=$PATH:$ANDROID_HOME/tools
export PATH=$PATH:$ANDROID_HOME/tools/bin
export PATH=$PATH:$ANDROID_HOME/platform-tools
After setting the environment variables, you need to restart bash_profile, to do this, run the command below:
source ~/.bash_profile or
source ~/.zshrcCreating and running an Android emulator
Select “ADV Manager” from the drop-down list of the main window.

In the window that opens, click on the “Create a virtual device” button.

Now select the phone model for the emulator and click “Next”.

In the next step, we need to select the OS version, select the previously installed one and click “Next”.

Next, we need to enter a name or leave it as default and click the “Finish” button.

Finally, we have completed the emulator setup, now you can start it.

If we did everything correctly, after clicking on the start button, the emulator should start.

Great, the emulator works)